
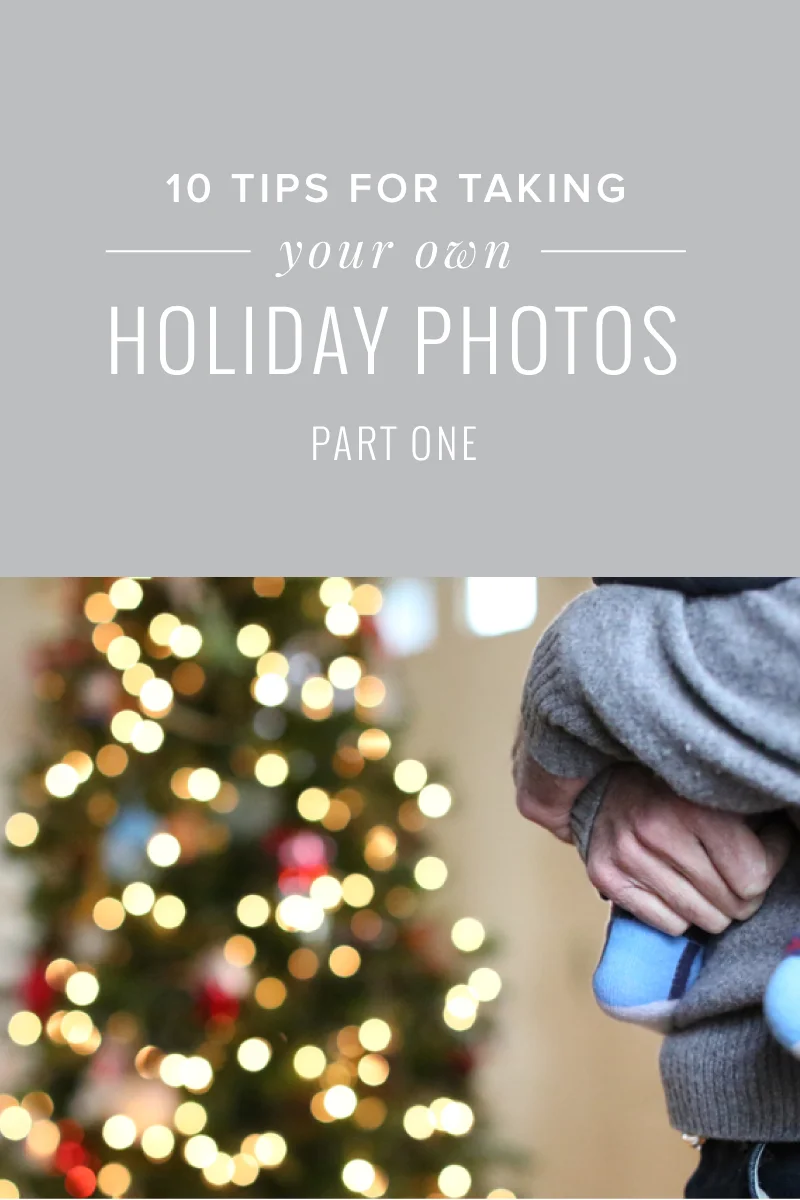
tips for taking your own holiday family photos, part 1
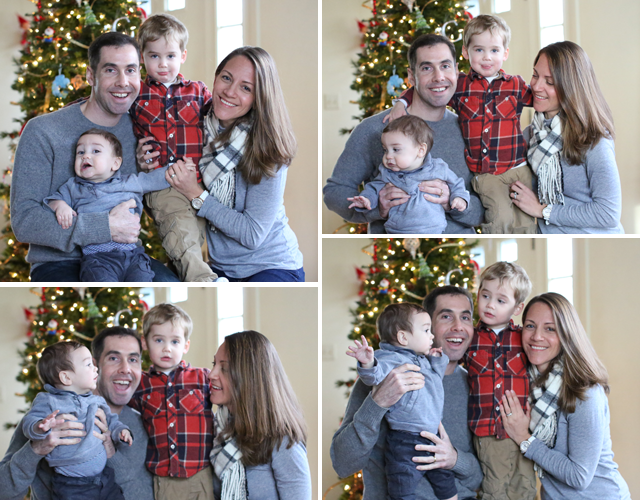
Last week, when Nick's sister and her husband visited us for a few days, my parents-in-law requested a photo of all of us. So I broke out the tripod, Googled how to use the timer on my camera, set up the shot and went to work taking some pictures.
After we'd gotten a photo of all of us that worked, Nick and I decided to hand the camera to our brother-in-law and attempt to get a holiday photo of the four of us with our tree in the background.
It wasn't perfect, but we got some great shots. It turns out this isn't rocket science, but it can be really daunting if you're not a pro (which I am definitely not!).
I learned a few things I thought might be helpful if you want to attempt this yourself. As I started jotting down the ideas for this post, I realized I had a lot to say, so it's broken up in two parts.
Read on for my first set of tips.

Tip no. 1 / Learn how to use the timer on your camera or phone.
Google it. It took about two minutes to figure it out for my DSLR, and it meant we could all be in the shot. If all you have is the camera on your phone, then great!
These days most phone cameras have a built-in timer option, so set up the shot, set the timer, and get ready to pose.

Tip no. 2 / Set up the shot.
I have a tripod, but in a pinch, use a stack of books, a piece of furniture or anything you can find that's stable and secure. It's a personal preference, but I really prefer when a shot is level.
No one likes being photographed from below (hello, double chins!), and I just don't love the look of crooked lines in a photo. So I line up the tripod so it'll shoot everyone straight-on, and I make sure it's level, so the horizontal and vertical lines in the background are straight and not a distraction.

Tip no. 3 / Stage your backdrop.
This doesn't have to be a perfectly candid, documentary-style family photo. Those photos in magazines are staged! So do some staging of your own.
Use a piece of furniture to create different heights. We used a piano bench in front of our tree so we wouldn't all be standing in a line.
Move a prop if needed (we shifted the tree a few feet to one side). Tidy up the living room or move a few things off the mantle.
You can always put things back the way they were, but a little tweak in your backdrop can make the difference when you want something that's festive without being distracting.
Even a blank wall can make an awesome backdrop.

Tip no. 4 / Take several test shots and make adjustments as needed.
I had my sister-in-law sit in the spot where we were shooting and I set up the camera in manual mode, adjusting the shutter speed (high, for the moving kiddos), the aperture and the ISO to get the light I wanted, taking test shots as I made adjustments.
You can always shoot in auto or even take a pic with your smart phone, but it's worth taking a few test shots before you gather a group. Doing this allowed me to figure out the right height for the tripod and a good starting point for the camera's settings without the pressure of everyone standing around waiting.
Once we gathered the group, we were able to start shooting immediately, which was super helpful with the kiddos.

Tip no. 5 / Designate one person to run the show.
Initially, we were all running to the camera to view each picture, which meant we were re-setting up every shot! Pick one person who can be trusted with a camera to take a look at the photos on the digital camera and make adjustments like fixing hair, telling people where to stand, making sure faces aren't hidden, etc.
Be sure to read the second part of this post. I'll show you how we found the light indoors and what we did to get our money shot.
Share this post if it was helpful for you and be sure to read part two for five more tips!