You’re capturing countless photos, but what are you doing with those memories?

I’m Catherine. I’m a mom, military spouse, and modern memory-keeper.
I started documenting our family memories almost ten years ago and quickly realized I preferred a really minimal approach. Nowadays, I offer custom projects for clients and simple resources so other busy families can do the same.
Let me HELP YOU WITH YOUR MEMORIES.
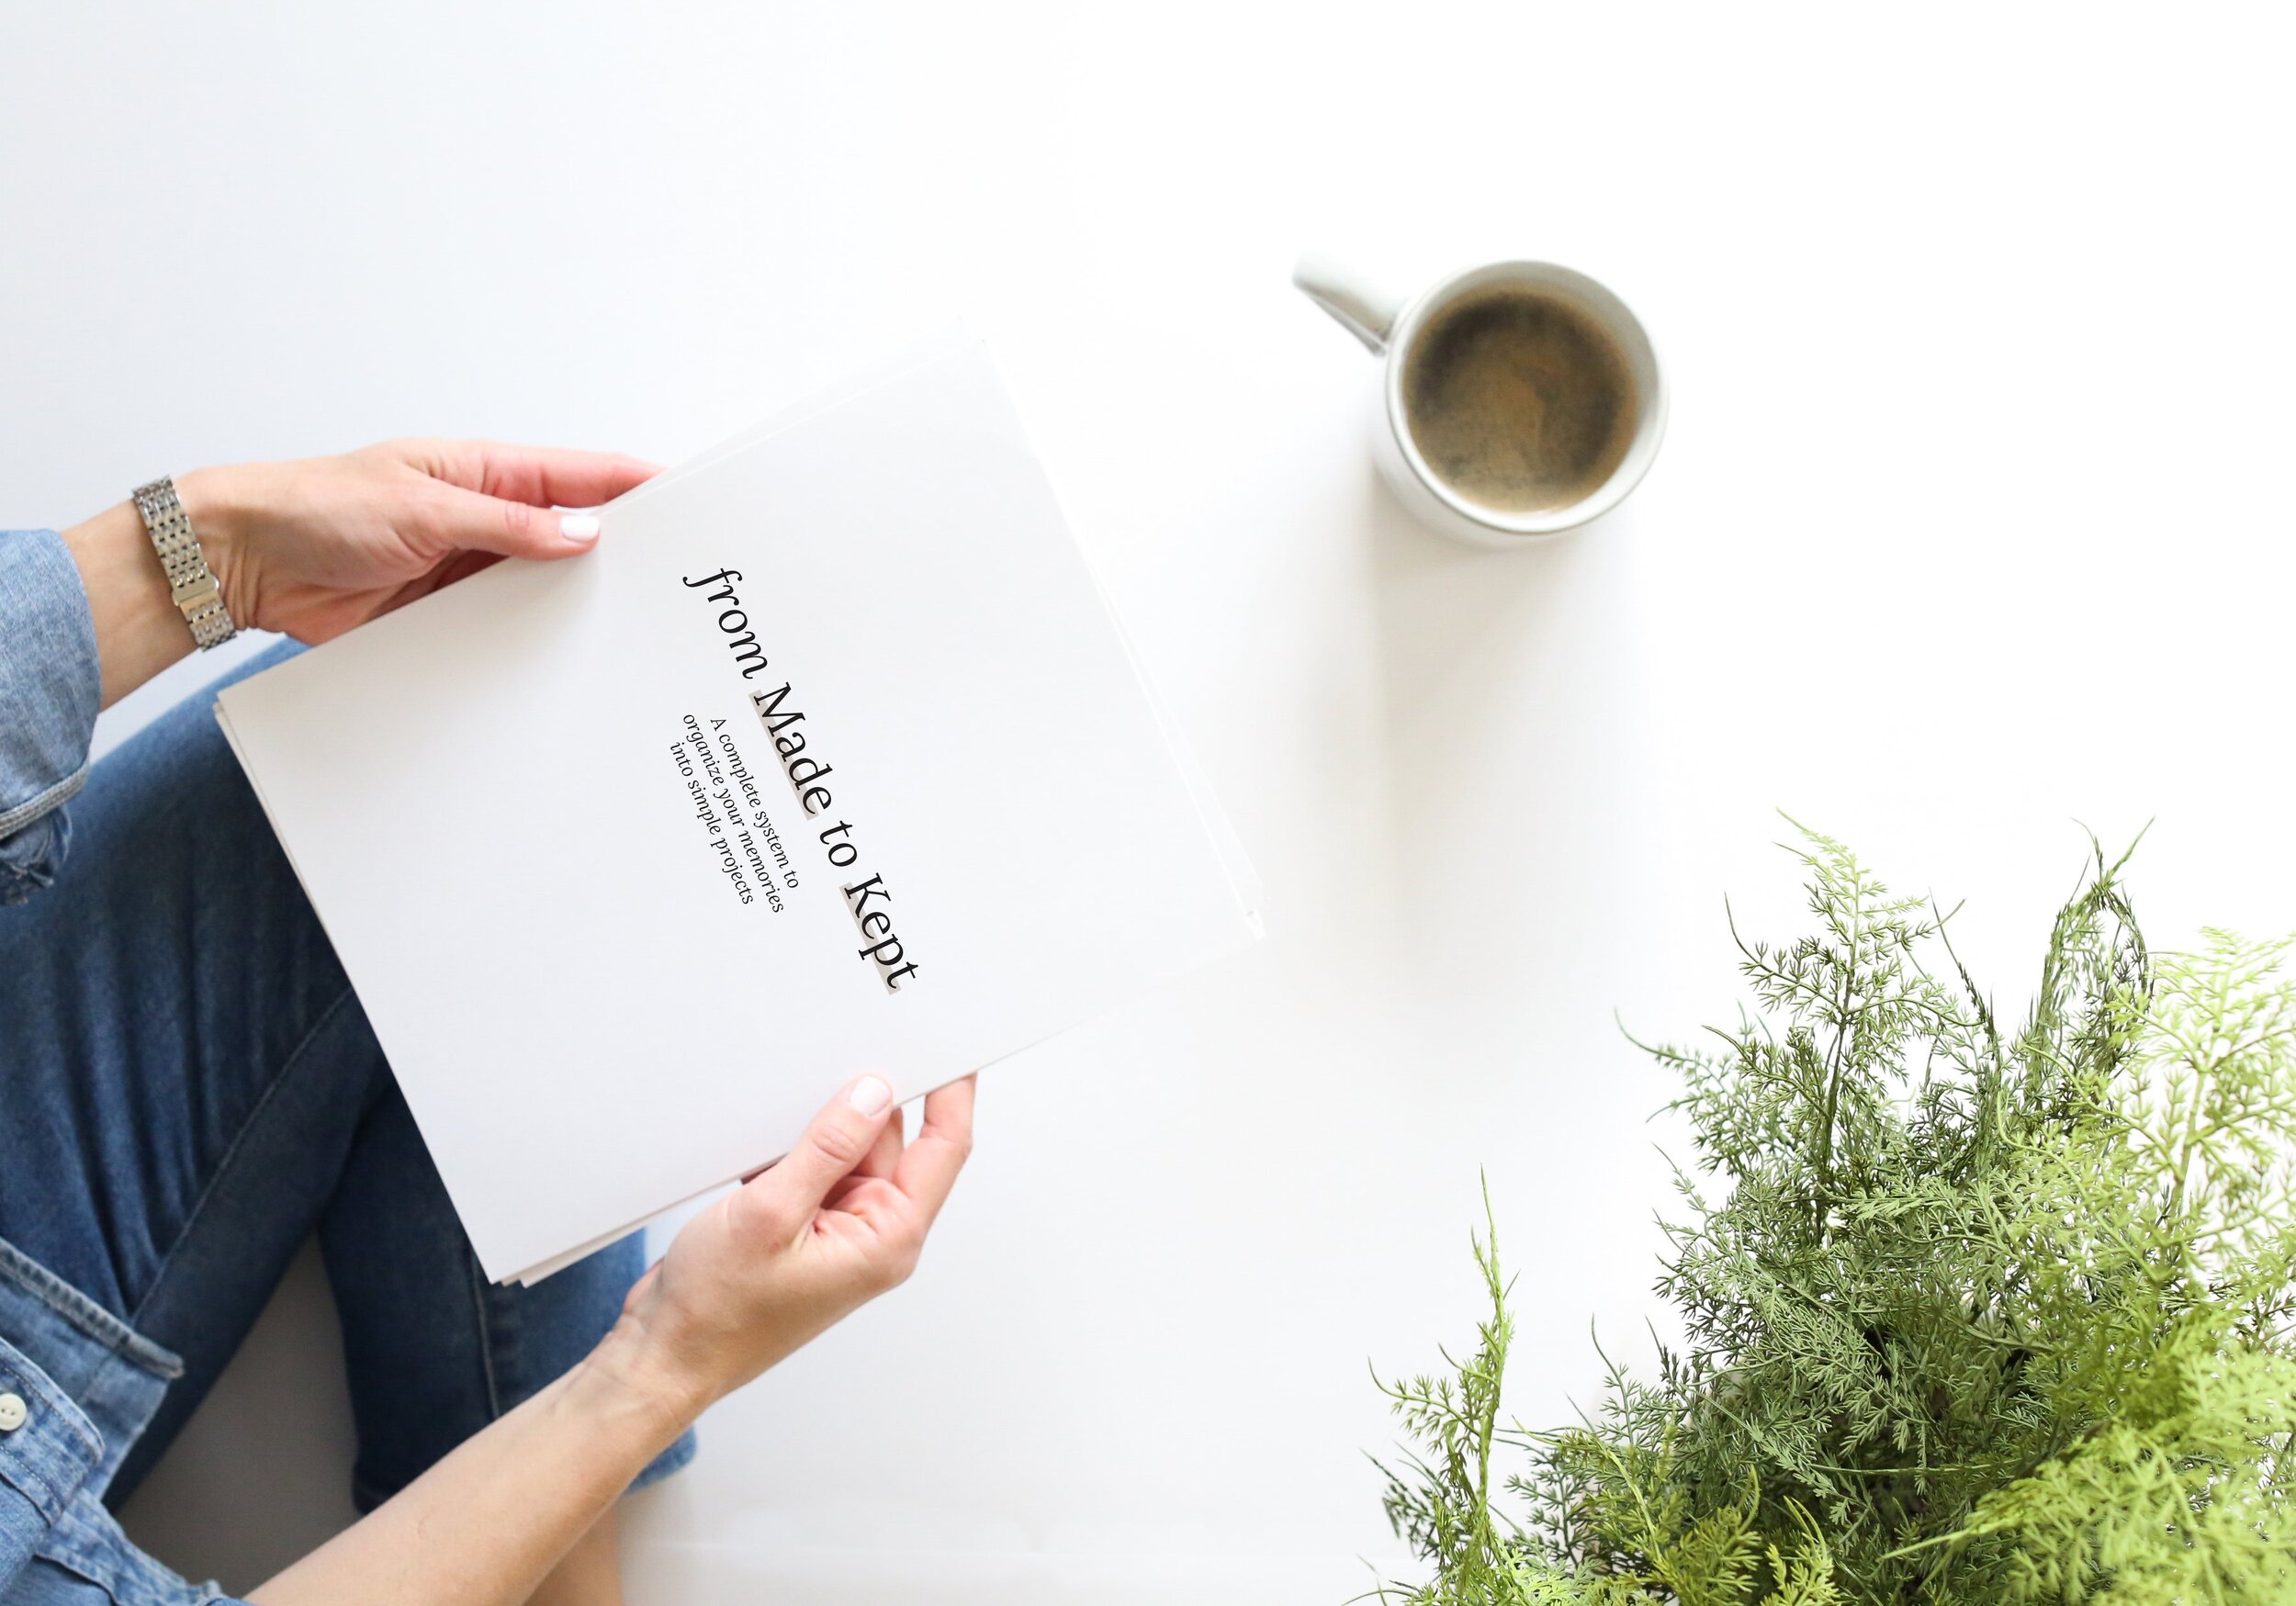
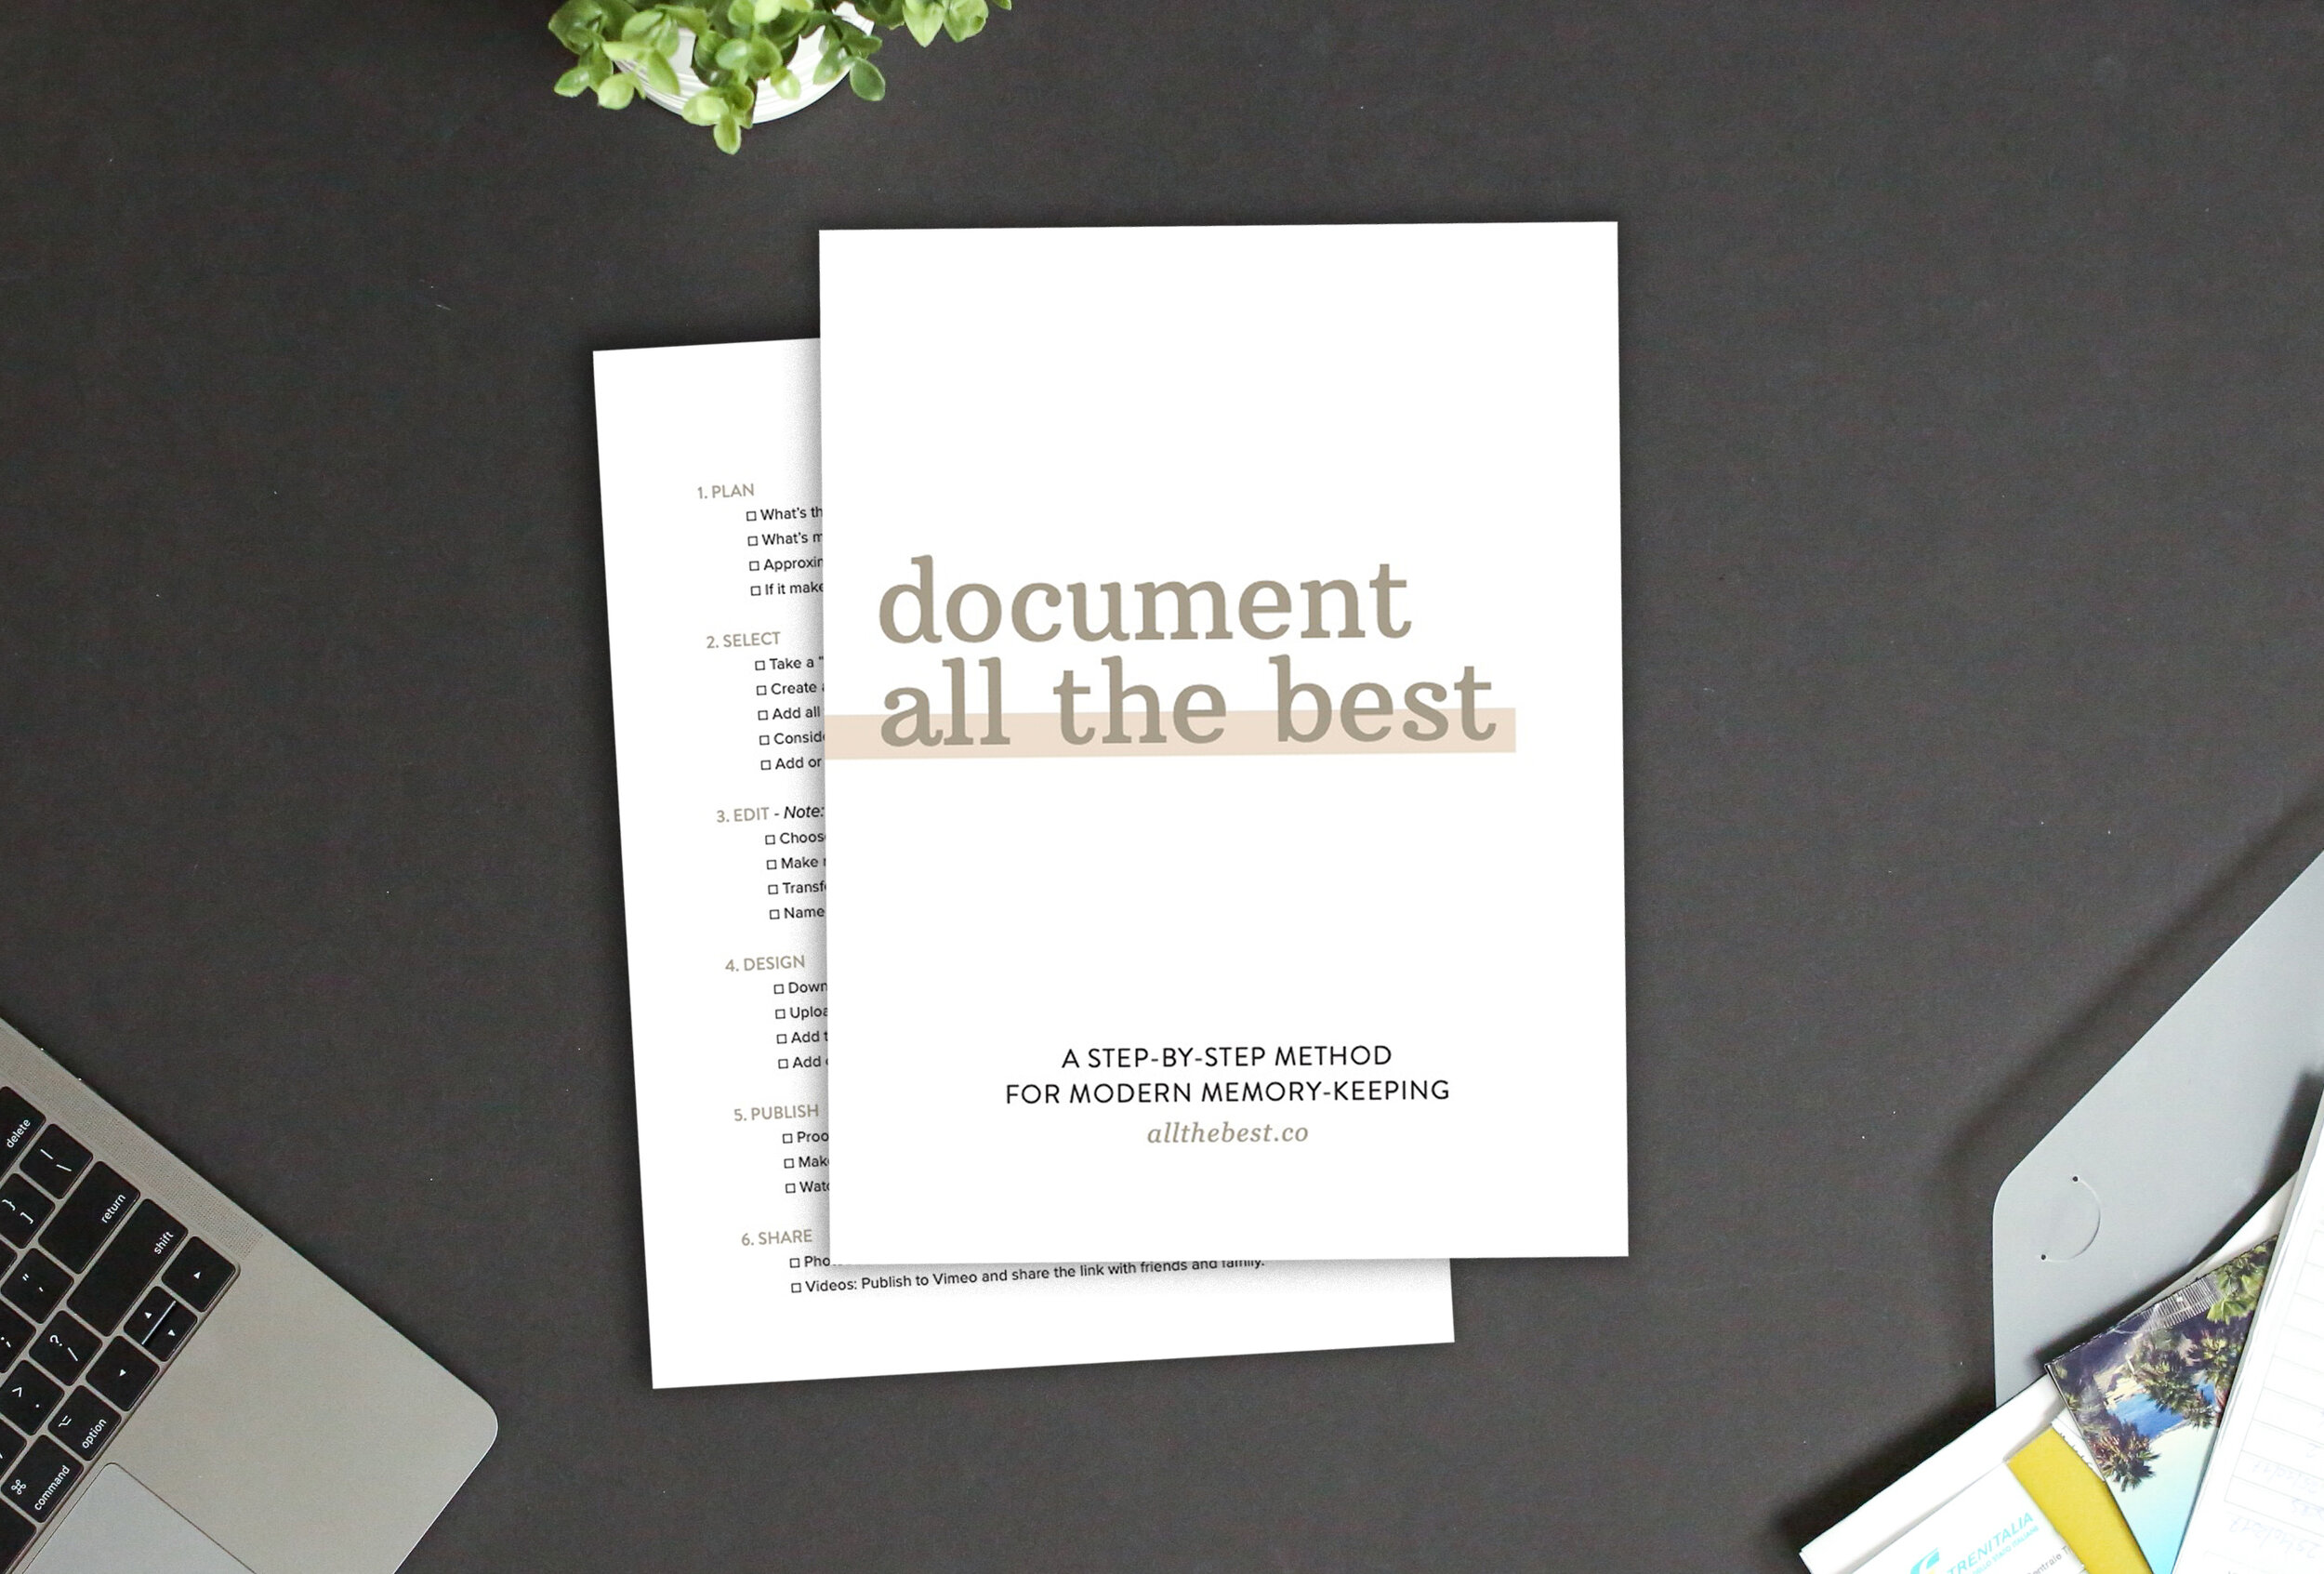
If you’re years behind and short on time, I have a comprehensive guide that will show you a simpler way to catch up.

I believe in
Less stuff, more meaning, minimal design, maximum joy.
My programs and resources simplify the process for both seasoned memory keepers and newbies.
“Your method has relieved me, inspired me, and, I dare say, given me hope again.”
Florence B.

NEW TO THIS?
Welcome! My free guide Memory Keeping 101 contains tips and inspiration to tackle photos + sentimental items.
READY TO START?
My Family Archive Start Guide is a PDF with worksheets and an audio guide walking you through my simple system.
WANT MORE SUPPORT?
My 3-week photo books course includes videos, workbooks, and live support to help you cross the finish line.