
DIY hand-lettered invitations
Last weekend we celebrated Ben's third birthday with a really (really) casual party in the green space behind our house. We've never actually been in town for Ben's birthday so I was excited to throw a little party. We invited five families with little kids, our closest friends and neighbors. My mom helped me with the food and friends pitched in with the setup (pop-up shade, a waterslide, slip-n-slide and kiddie pool). Although it was going to be a super-simple party, I really wanted to do a little invitation. I sat down and put this together during nap time a couple weeks ago using things I had around the house.
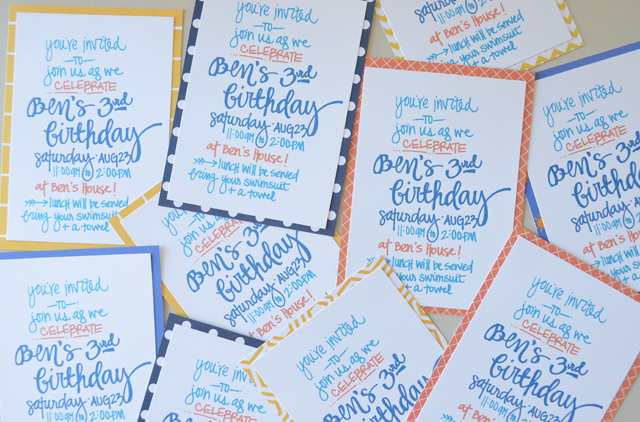
Supplies / black Sharpie, scrapbook paper (mine is from the Project Life Seafoam and Strawberry edition papers), white card stock, a scanner and printer, paper trimmer, adhesive, Adobe Illustrator or Photoshop.

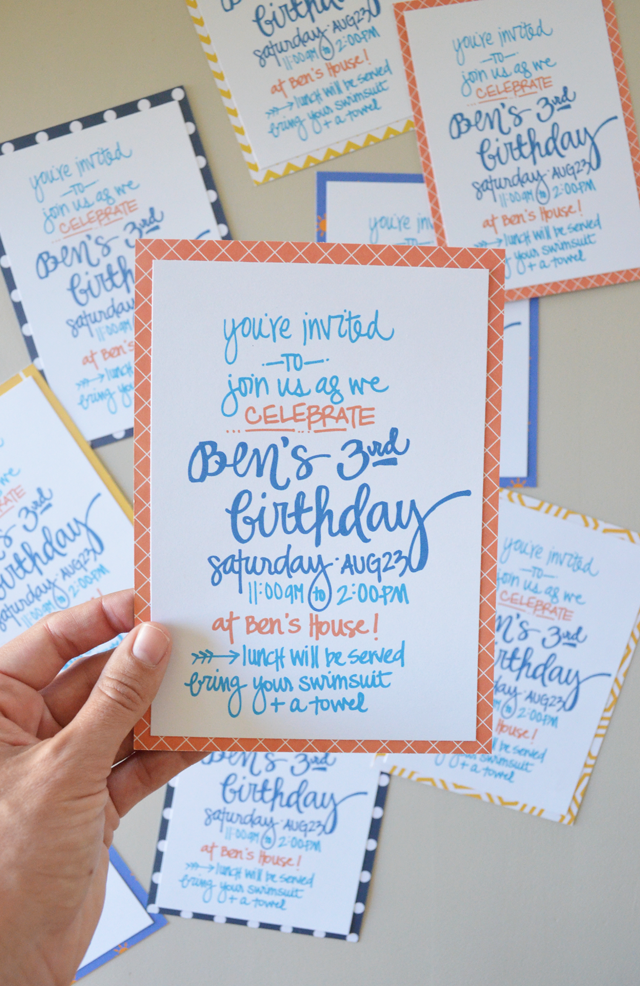
I started by writing out the invitation on a piece of white card stock using a Sharpie. I scanned the black and white version and opened it in Illustrator (you could also use Photoshop). I outlined the text using Live Trace, changed the colors and sized it down to just under 5x7 inches.

I printed two copies on a piece of card stock and trimmed them down to 4.5 x 6.5 inches. To create the borders, I adhered the printed invitations to pieces of 5x7 inch scrapbook paper.
If you're not familiar with Illustrator then certainly this is more complicated than just "use Live Trace!" If you're curious about how I digitized the original sketch, check out THIS tutorial, which really breaks down the process.
I love designing, sending (and receiving!) paper invitations, but it's something I don't always do. What about you? When do you use paper invitations?